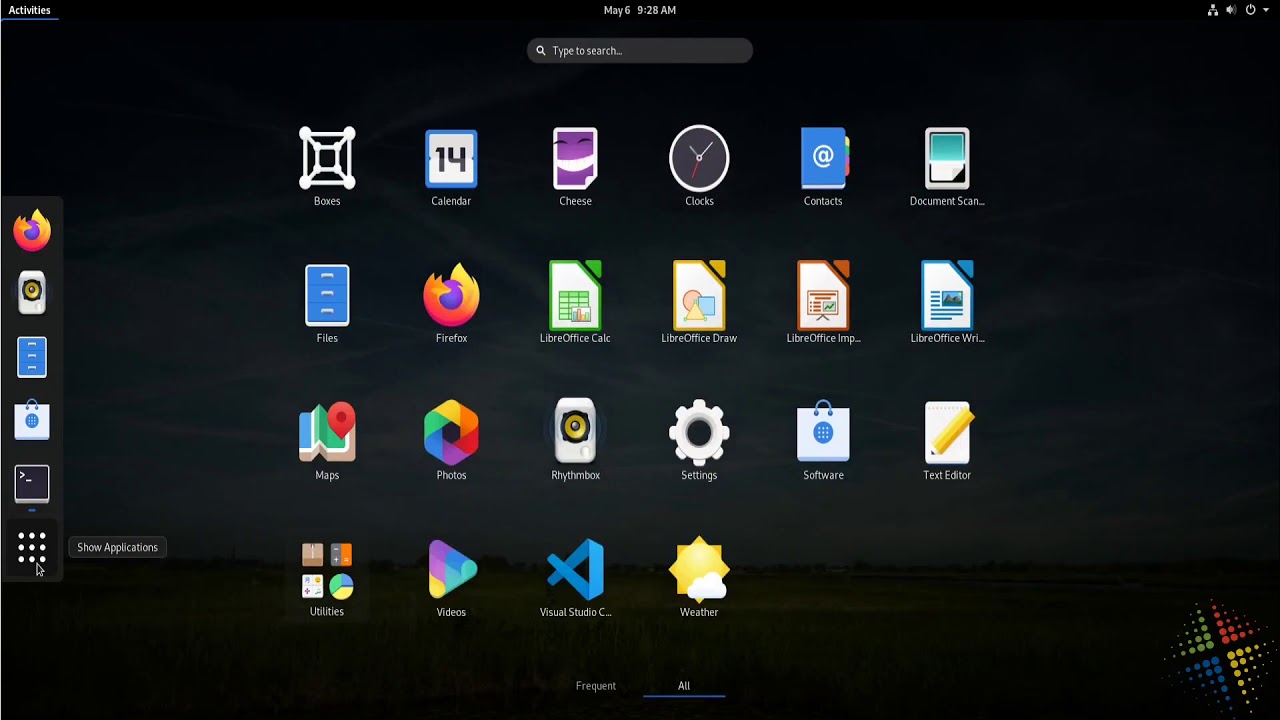
Installing Visual Studio Code on Fedora 31
Install SNAP
Microsoft released updates to Visual Studio Code as a SNAP package. Snap is a package management utility similar to apt, yum, or dnf, that is used to install software and any required dependencies. To install VS Code, we must first install snap.
Install snap
sudo dnf install snapd
Configure snap for classic mode (required for VS Code)
sudo ln -s /var/lib/snapd/snap /snap
Configure SELinux
Fedora 31 requires a change to the SELinux security to enable snap to work properly. When you run the command sestatus, you should see the following:

Assuming SELinux is configure as shown, run the following command to configure snap under SELinux
sudo semodule -i /usr/share/selinux/packages/snappy.pp.bz2
Reboot
sudo reboot
Install Visual Studio Code
sudo snap install --classic code
Configure for GitHub
Once installed, VS Code can be opened from the Activities menu, or by typing code in the terminal window. Once open, on the menu bar choose File | Open Folder..., and select the folder holding your local GIT repository.
The editor will now show a list of files and folders in your repository. As soon as you edit one or more files, you will the Source Control tab on the left report changes. If you click on the Source Control tab, you will see the pending changes.

Clicking the checkmark at the top will begin the process of committing the changes. When prompted to stage the changes, click Yes or Always. Enter the commit comment and hit Enter to commit.


To synchronize to GitHub, while on the Source Control tab, click the elipse or three dots (…) and select Sync. Click OK at the prompt and the changes will be synchronized to online.

